Wow! Can you believe it has been an entire year since our last post?
So much has happened. We had a great beachfront retirement party for our friend John who just retired from Apple. We traveled to The Big Island and Oahu for the first time in years. Kathy had remarkably successful eye surgery and I had major back surgery. I am a new man as a result. Unfortunately, we lost our beloved fur baby, Teddi. He was a beautiful and loving member of our ʻohana. He will be missed.
In spite of inflation and the outrageously high cost of living, Maui is still a great place to live. The weather has been a little strange and unpredictable and drought conditions persist although not as severe as in the last few years.
This time of year is when we should pause, be thankful for what we have, and celebrate with our family and friends.
So, be safe and be well. Health, happiness, and prosperity in the coming year.
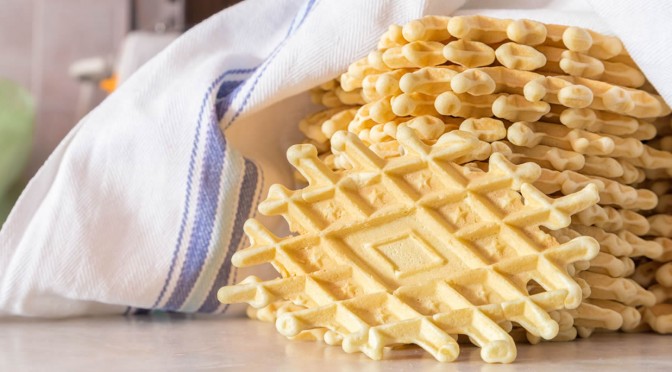
Pizzelles are the oldest known cookie. It is generally believed they originated in the Abruzzo region of south-central Italy in ancient times to mark an annual celebration. Initially baked over an open fire with relatively simple but effective irons, the early pizzelles often were proudly embossed with the family crest or some hint of the village of origin. The name comes from the Italian word pizze for round and flat. Pizzelle makers are typically called irons, because the first ones were just that- irons that were forged by blacksmiths for the local women.
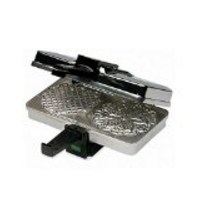
Cucina Pizzelle Iron
In some parts of Italy, the irons were embossed with family crests and passed down to each generation. Over time it became tradition to use pizzelles to celebrate any holiday or festive occasion, but inevitably there were pizzelles for everyone at Christmas and Easter. In addition, today they are often found at Italian weddings, alongside other traditional pastries such as cannoli and traditional Italian cookies
Traditional Italian Pizzelles
3 eggs, room temperature
¾ cup sugar
½ cup butter melted and cooled
2 tsp. baking powder
1 tsp. vanilla
½ tsp. anise extract
1 ¾ cups flour
Preparation
In large mixing bowl, beat eggs and sugar. Add cooled butter, vanilla and anise. Sift flour and baking powder together and add to egg mixture. The batter should be stiff enough to be dropped by spoon. It can also be refrigerated and used later. Place 1 heaping teaspoon batter on each grid and bake according to directions for your Pizzelle iron. To keep pizzelles crisp, store in an airtight container.
Two pizzelle may be sandwiched with cannoli cream or hazelnut spread.
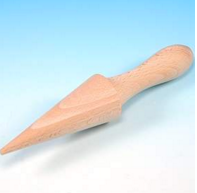
Pizzelle Cone Roller
Pizzelle, while still warm, can be rolled using a wooden dowel to create cannoli shells or shaped into cones for ice cream.
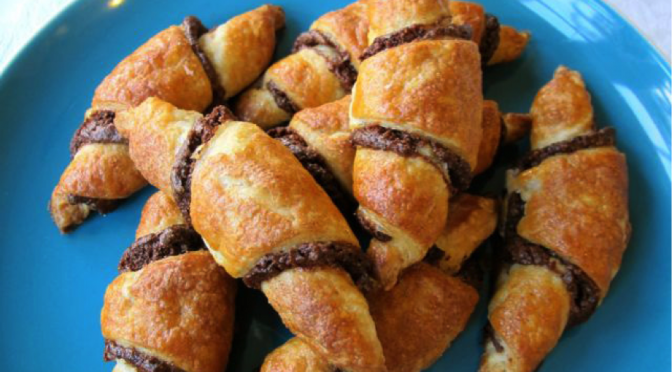
Ahhh, rugelach. You’d be hard-pressed to find a Jewish dessert that is more beloved than sweet, flaky rugelach. Yiddish for “little twists” or “rolled things,” rugelach have become a popular dessert in America, enjoyed by Jews and non-Jews alike. They descend from an Eastern European pastry known as kipfel, which is a croissant-like cookie made with flour, butter, sour cream, sugar, and yeast. Sometimes kipfel are filled with fruit or nuts, sometimes not. In the early 20th century, American Jewish cooks took the concept of kipfel and added cream cheese to the dough, resulting in the delicious rugelach we know and love today.
Rugelach are often served on Jewish holidays like Hanukkah and Shavuot, though of course they can (and should!) be made throughout the year. Our family typically serves them during Rosh Hashanah, when sweet foods are made to signify a sweet new year. The rolled shape is similar to the spiral challah served at Rosh Hashanah, which symbolizes the cyclical nature of a year. Some people roll rugelach into a strudel-like form, then slice it to make spiral-shaped cookies. In today’s blog, I’m going to share the method for creating the more popular crescent-shaped cookies.
While rugelach filling recipes vary greatly, the dough most American bakers use for rugelach is pretty standard, comprised of equal amounts of flour, cream cheese, and butter. I add a bit of sour cream, sugar, and salt to mine because I like to shake things up. I’m a rugelach rebel! Actually, many people use sour cream in their dough instead of cream cheese, which is more similar to the way kipfel are made. I like to add both because I love the way the dough bakes up– crispy on the outside, soft and flaky and scrumptious on the inside. You’ll love it too. Promise.
I wish I could say that this recipe is healthy, but alas, it is just the opposite. That is, unless you consider fat, sugar, and starch to be healthy– and they might be, depending on how you look at it. After all, tasty treats in moderation are certainly good for the soul. I don’t recommend futzing with the recipe too much by substituting lowfat ingredients, since it’s the fat in the dairy products that ultimately makes these cookies so flaky and delicious. If you do try modifying the recipe for health reasons, let me know how it turns out for you– I’d love to hear! For the rest of us making full-fat rugelach, don’t worry about it too much. These cookies bake up fairly small, so you can treat yourself to a couple and not feel too terribly guilty. Life is there to be lived, am I right??
1/2 cup berry preserves (raspberry, strawberry, or blackberry)
1/4 cup brown sugar
EGG WASH INGREDIENTS
1 egg
1 tsp water
1/4 cup granulated sugar
1 1/2 tsp cinnamon
YOU WILL ALSO NEED
Food processor or electric mixer, plastic wrap, parchment paper, cookie sheets, rolling pin and surface, skillet, 9 inch cake pan (optional)
Servings: 40 large rugelach or 60 small rugelach
Kosher Key: Dairy
Chop cold butter and cream cheese into smaller pieces. Put pieces into your food processor along with sour cream, flour, salt, and sugar. Pulse together ingredients until a crumbly dough forms and begins to fall away from the sides of the processor. Don’t overprocess; the dough should look crumbly, like cottage cheese.
If you don’t have a food processor: let the butter and cream cheese come to room temperature. Using a stand mixer or hand mixer, cream the butter and cream cheese together with the sour cream. In a separate bowl, sift together the flour, salt, and sugar. Slowly add the dry mixture to the wet mixture, mixing constantly, until dough holds together and begins to pull away from the sides of the bowl. Don’t overmix. Pour dough onto a lightly floured rolling surface and form into a rough ball shape.
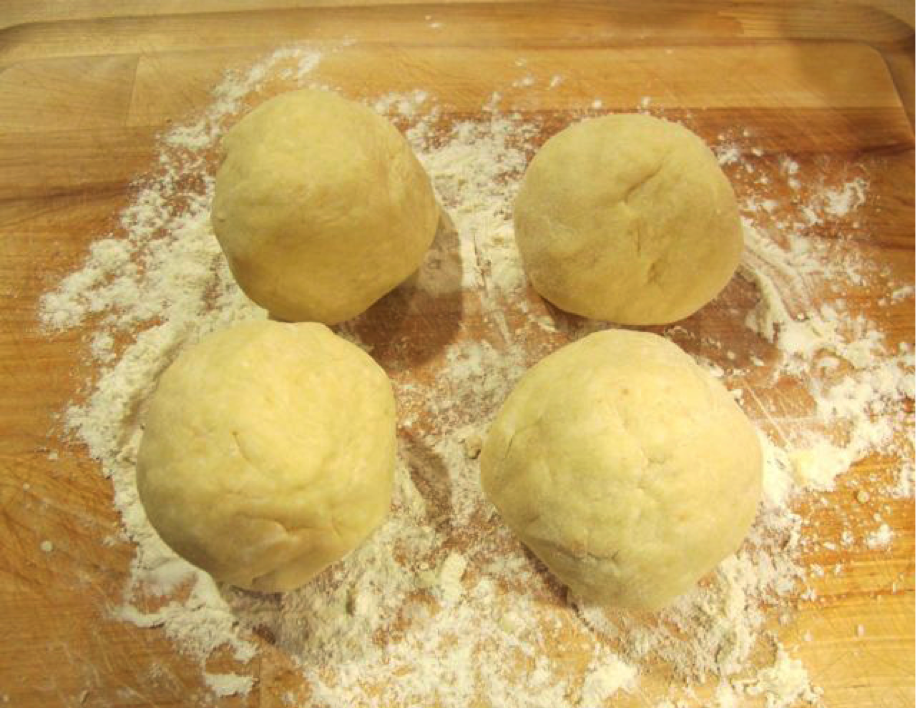
Divide the ball into four equal pieces and form those pieces into rough balls.
Cover each ball with plastic and place in the refrigerator. Refrigerate dough balls for at least 1 1/2 hours, for up to 48 hours.
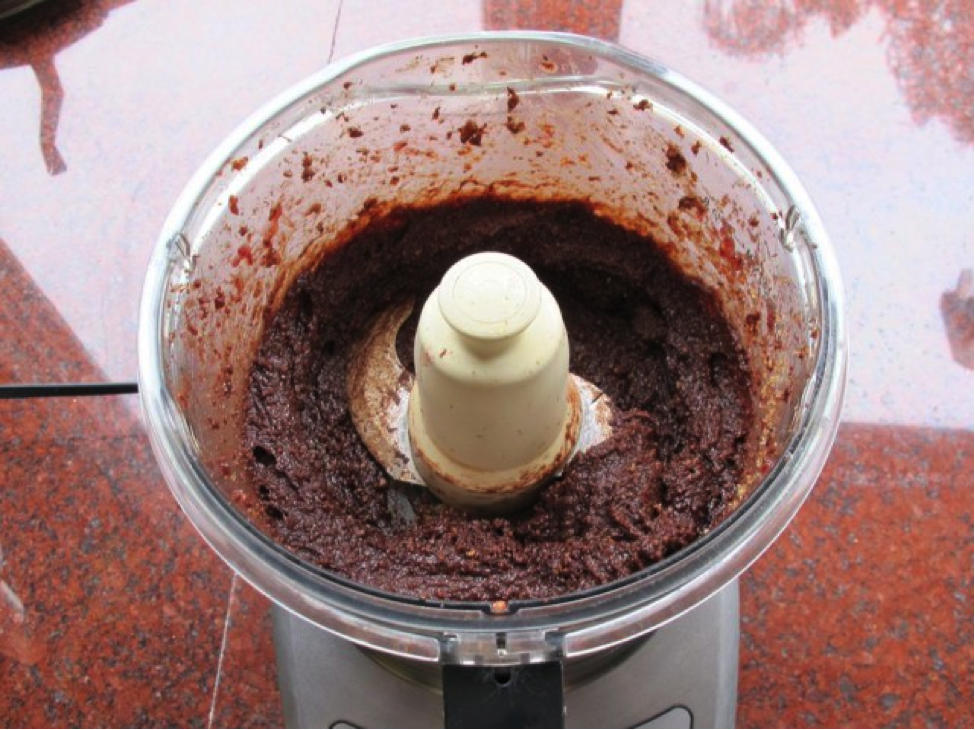
In a skillet, toast the chopped nuts over medium heat until fragrant.
Pour the toasted nuts into a food processor along with the chocolate chips, berry preserves, and brown sugar. Pulse together until a thick, coarse paste forms.
Combine the cinnamon and sugar in a small bowl. Beat your egg wash with water.
Preheat oven to 375 degrees F. Lightly flour your rolling surface and rolling pin. Take one portion of the dough out of the refrigerator (keep the rest of the dough cold until ready to use). Roll out the dough to about 1/8 inch thickness. You may need to use the rolling pin to pound out the dough a bit at the beginning; the dough will be very firm and cold, but will become more pliable as it starts to warm. Just keep rolling with firm, even pressure.
Lift the dough gently from the rolling surface (it may stick a bit) and re-flour your surface beneath the dough.
Replace the dough onto the newly refloured surface. Use a round 9″ cake pan as a guide to make a nice, smooth imprint of a circle in the dough.
Cut the dough into a large circle, following the shape of the cake pan. If you don’t have a cake pan, just guesstimate the size of the circle and cut it as smoothly as you can.
Form the trimmed excess dough into a small ball. Wrap it in plastic and reserve in the refrigerator, adding to the ball with each batch that is made.
Take 1/4 of the filling (about 4 tbsp) and place it in the center of the circle. Spread it very thin across the surface of the dough; a thick layer of filling will make your cookies expand and burst. You can use your fingers to make the spreading easier; I like to use my palm to flatten and even out the filling. Leave about an inch around the edges of the circle.
Cut the circle into 8 equal triangles by first cutting the circle in half…then quarters…then halve the quarters to make eighths.
If you prefer to make smaller bite-sized cookies, divide each quarter into three to make 12 equal triangles.
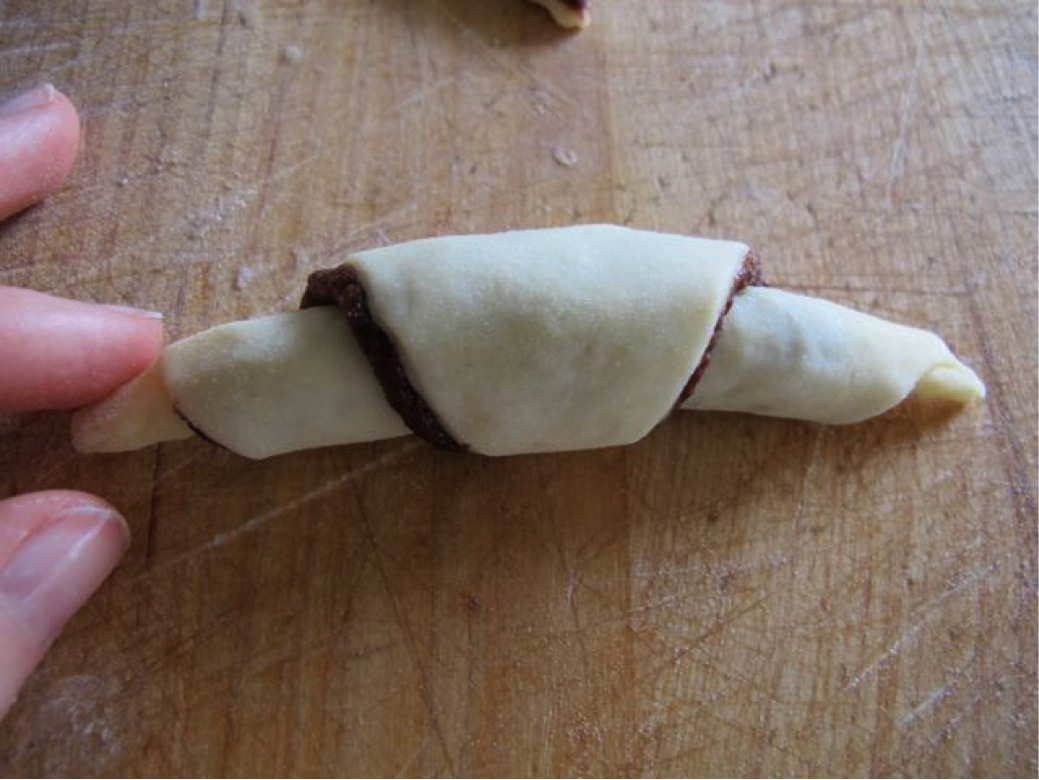
Roll each triangle, starting from the wide flat end and rolling towards the narrow point.
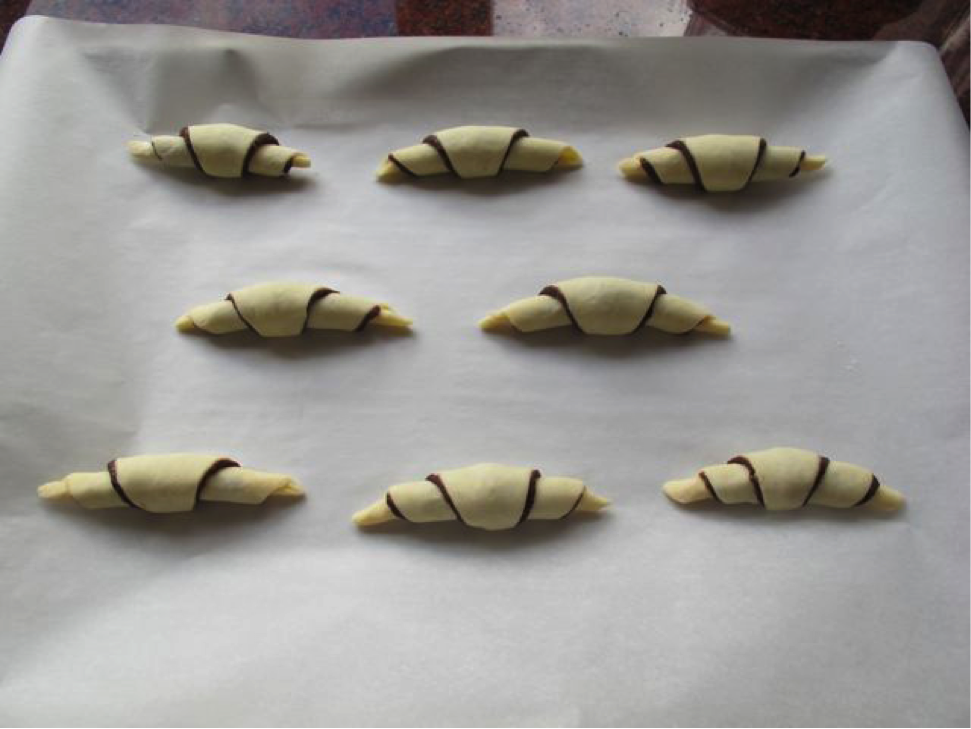
Press the end point into the cookie to secure it. Place the rolled cookies onto a parchment lined cookie sheet, end point down. Leave an inch between the cookies, as they will expand slightly during baking.
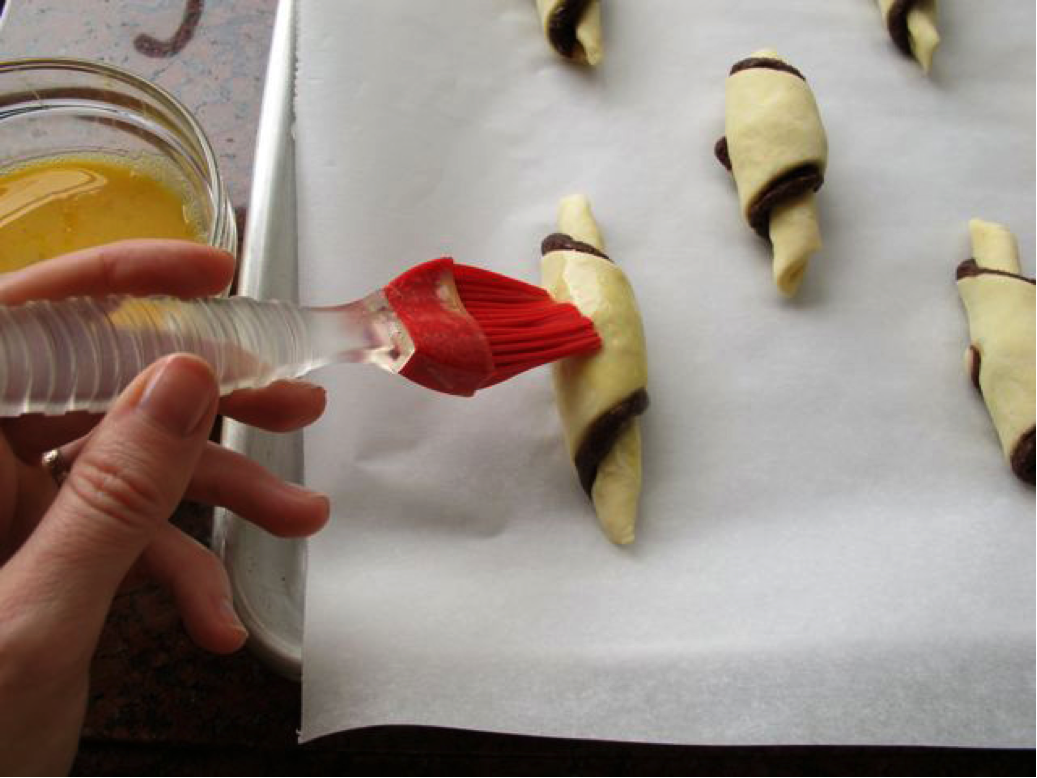
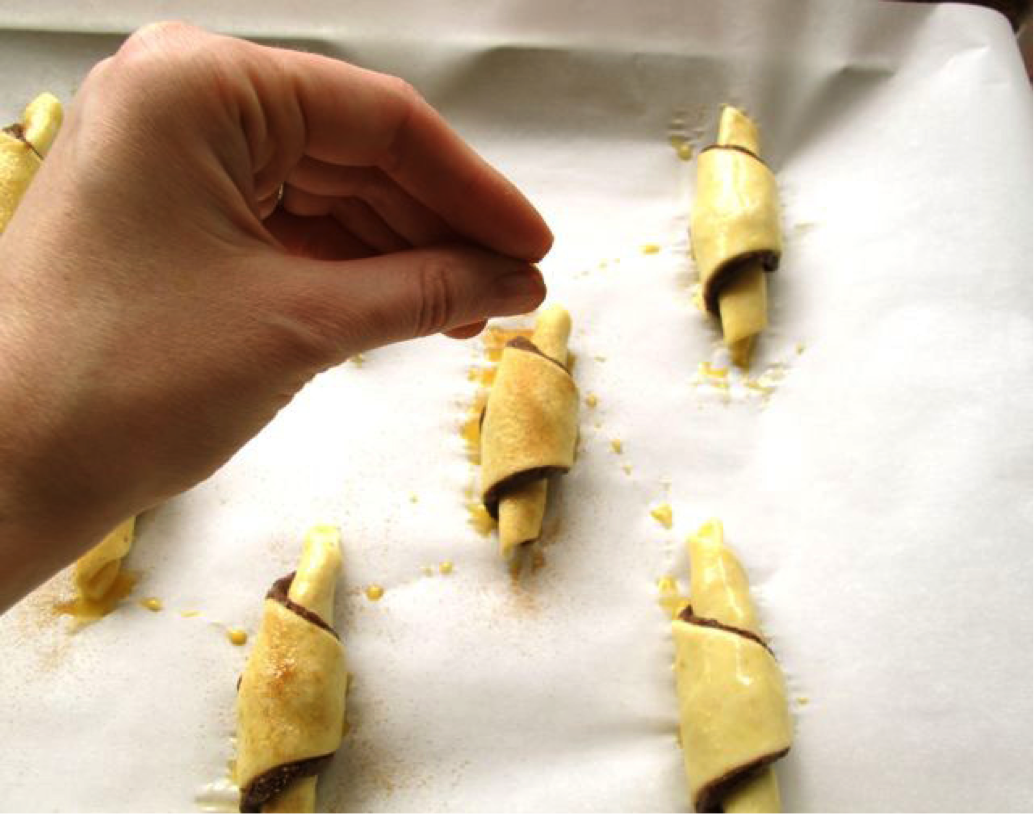
When you are ready to bake, brush the top of each cookie with egg wash then sprinkle lightly with cinnamon sugar.
Place cookies in the oven and let them bake for about 25 minutes, or until golden brown.
Roll out your next batch of cookies while this batch is baking. When the cookies are golden brown, remove from the oven and let them cool on a wire rack.
If you’d prefer to bake more than one batch of cookies at a time, you can store batches of rolled unbaked cookies (without egg wash) on a cookie sheet in the refrigerator. Egg wash and dust them with sugar just prior to placing them in the oven.
When you’re finished making cookies from the four dough balls, make a smooth ball from the leftover dough trimmings you’ve reserved and roll it out to make your fifth batch.
These cookies taste amazing served warm and fresh from the oven. They’ll keep for a few days in a tightly sealed container. You can rewarm them in the microwave if you want to. Also, feel free to use this dough recipe with other rugelach fillings. If you’re using a fruit-only filling, make sure it’s an oven safe variety for pastry baking. Using simple jam or preserves alone (without firming them up with other ingredients) tends to make a runny filling that flows out of the cookies, which makes for a goopy mess. If you’ve never made these cookies before, start with my filling– it’s really yummy, promise!
It has been quite awhile since we posted to our blog. And quite awhile since we moved back to Maui. We are finally settling into our lives here in Hawaii and although we lived here for many years prior to coming back, the transition still proved to be challenging.
One of the most unsettling aspects of living here (and the same was true the last time I lived here) is that you make friends and then they move away. I guess you can say that about any place. But, it’s more pronounced here.
We made a decision to stay in the original home we bought and not move to the larger home we intended to purchase. The first home we bought is much easier to take care of, leaving more free time to enjoy our surroundings. We also made a decision to get off the career treadmill and work part-time. Kathy settled at The Maui Brewing Company as an Administrative Assistant 3 days a week, I went to work with
State Farm Insurance as a Representative from which I retired on March 15, 2019. I have since returned to my passion of being a Hana Tour Guide. I connected with Temptation Toursand conduct Hana tours 3-4 days a week.
We also retired the Pua Mele Art & Design website and our products are now offered exclusively on Etsy. Give us a visit!
The weather on Maui this last year has been very wet. In fact it has been one of the wettest and coldest ( yes, we even had snow as low as 6,200 feet) years on record. Maui also had a very rare hurricane. Fortunately, the area where we live is protected by some large mountains and what we experienced was not much more than a very rainy and windy day.
I usually publish this blog at the beginning of the month. However, this month is special and I wanted to hold off on this post until we closed on the sale of our Scottsdale condo. That closing took place on January 9th. We are now on the entrance ramp to the road (or should I say the ocean) ahead to Maui, Hawaii.
We have been working on our dream of returning home to Hawaii for the last three years. It has been a long haul and a heavy lift but all of the planning is now bringing things together. I will post more on this journey as the months and years unfold.
One of the things we acquired to help get us going when we get settled is a 2017 Ford Edge Titaniumwhich I will review on a separate page. There is also a section for some favorite inspirational quotes and sayings that helped keep morale up while setting this plan in motion. And once again we included a favorite recipe that we hope you will enjoy.
Whatever awaits you and yours on the road ahead you choose to take, may the journey be safe and fruitful.
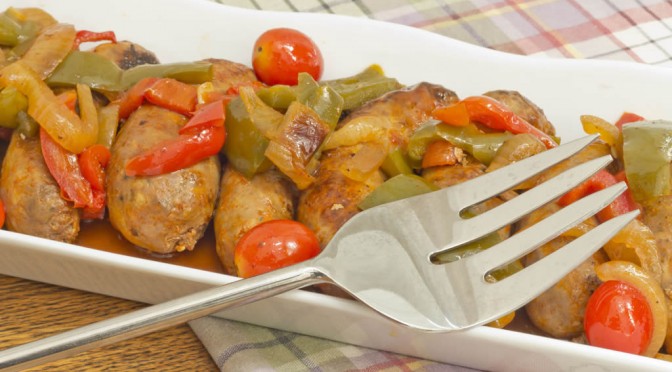
This delicious Brooklyn dish is easy to prepare and very satisfying. It is not necessarily a side dish but a meal in and of itself. Makes a great brown bag lunch!
What you need
4-6 Italian sausages. Hot or sweet, you decide. If you live near a Costco, they have some of the best Italian sausage anywhere. Johnsonville is also very good. If you live in an Italian neighborhood then you’ll want to go to a local pork store.
A large frying pan
Grill
Olive oil
2 Green or red bell peppers
1 Medium sweet onion
2 Garlic cloves chopped medium fine
1/2 Tsp salt
1 Tsp black pepper
1/2 Tsp oregano
1/2 Tsp basil
1 Long loaf of Italian bread or crusty French baguette
First
Core and clean the peppers so that there are no seeds and no white rind. Cut them lengthwise into 1/4″ strips.
Second
Cut the ends off the onion and then cut it in half lengthwise and slice so that you have half rings.
Third
Heat the frying pan over medium heat until you can pop a drop of water then add about 1/8″ of olive oil. When you can pop a drop of water in the oil you are ready to fry up the peppers and onions.
Fourth
Saute the garlic on medium heat for about 30 seconds and then add the peppers and onions. Add the salt, black pepper, oregano and basil. Stir everything around often until the peppers and onions are tender. This will take a bit of time.
Fifth
While the peppers and onions are cooking , throw the sausage on the grill and cook them until they are done and have uniform black grill marks all around. Some people like to fry the sausage, I don’t. Frying them is O.K. but it does change the character of the recipe.
Sixth
Take the sausages off the grill and let them cool for a few minutes. Cut them lengthwise and add them to the peppers and onions for about 1 minute. Place the contents of the frying pan into a bowl lined with paper towels to absorb the excess olive oil. You are now ready to serve it up.
This makes a great sandwich and can be served with a side salad and a nice bottle of Chianti.
First of all, I’m not gonna use home made shells for this recipe. They are a royal pain in the ass to make and take the fun out of the whole deal. So, you food purests can start sending me hate mail and death threats if you’re so inclined. One more thing, after making the filling, licking the spoon is mandatory!
What you need
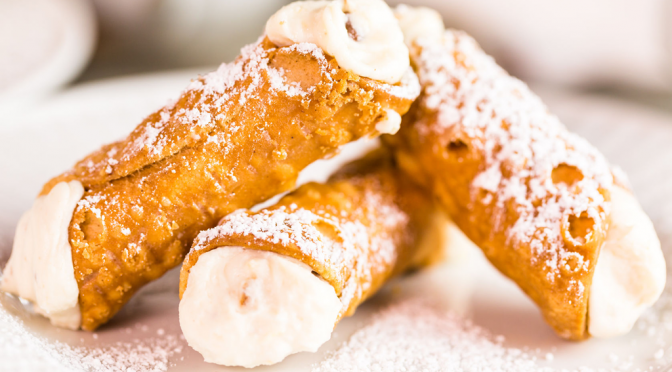
12 pre-baked, large cannoli shells. You can get these at an Italian bakery or a good gourmet supermarket. Yeah, I know. You can buy the cannoli at the bakery, but what fun is that. And besides, you wouldn’t have any bragging rights if you did.
Colander
Large bowl
An aluminum pan with a cover to store your little works of art in the fridge after completion
2-1 gal freezer bags
A nice big piece of cheesecloth
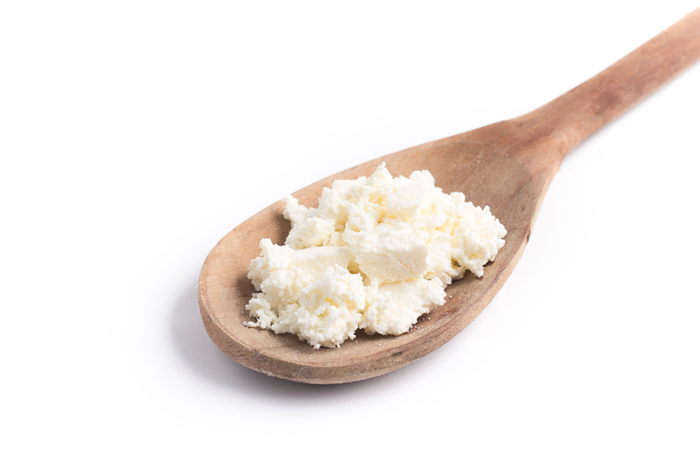
4 cups of whole milk ricotta, not skim (a little extra couldn’t hurt). I like Polly-O brand but any good quality brand will do just fine.
1 and1/2 cups of powdered sugar
1 tablespoon of vanilla
1/2 cup of finely chopped Maraschino cherries
First
Empty the ricotta onto the cheesecloth and let it drain in a colander for a few minutes so that it is not watery.
Second
In a large bowl, combine the ricotta, powdered sugar and vanilla until well mixed.
Third
Finely chop the Maraschino cherries and squeeze them into a ball in a paper towel until they are almost dry. If you don’t do this you will have a pink filling.
Mix the Maraschino cherries into the filling.
Fourth
Equally fill each 1 gal freezer bag with filling. After filling the bags, cut about 1/4 inch off each corner.
From this opening, squeeze the filling into each shell. It is very important to make sure that the filling penetrates the shell completely so that there is no air in the center. Fill the shell from both sides and then flatten the end of the filled shell with a butter knife.
Fifth
Place the filled shells in the aluminum pan and sprinkle liberally with powdered sugar. If you’re not gonna serve them immediately, place them in the fridge, but not for too long or they will get soggy.
Ahh! Summer, that magical time between Memorial Day and Labor Day. No matter how old or young you are, summer is the time to kick back, close your eyes and imagine that school is out.
The month of July marks our 240th birthday. In the scheme of nations that makes us pretty young. This is a good time to think about who we are, where we all came from and where we’re going.
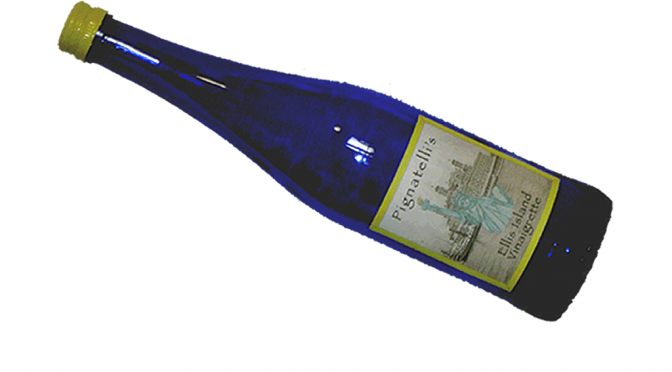
I have been making this family vinaigrette recipe for decades and sometimes bring a bottle of it to friends’ houses when visiting. I like it so much that I thought I would share the recipe with our readers.
To all our friends and subscribers we wish you a very happy 2016. May the new year be filled with happiness and prosperity for you and yours based on your notion of the meaning.
For our first blog of the New Year we decided to re-post some of our favorite articles and postings from 2015. If you are a new subscriber you may be reading some of these postings for the first time. If you’ve been with us for awhile, thanks for giving them a second read.