Brought to you by: toriavey.com
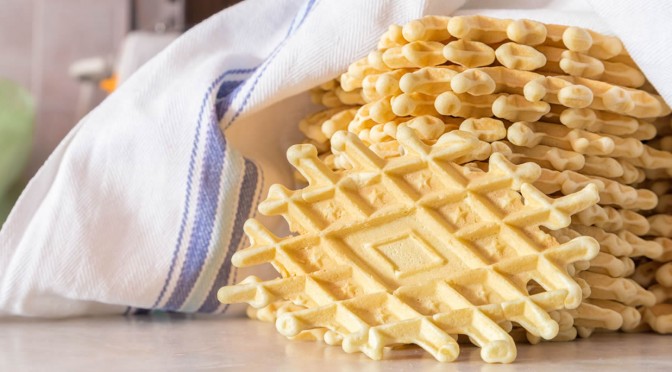
Ahhh, rugelach. You’d be hard-pressed to find a Jewish dessert that is more beloved than sweet, flaky rugelach. Yiddish for “little twists” or “rolled things,” rugelach have become a popular dessert in America, enjoyed by Jews and non-Jews alike. They descend from an Eastern European pastry known as kipfel, which is a croissant-like cookie made with flour, butter, sour cream, sugar, and yeast. Sometimes kipfel are filled with fruit or nuts, sometimes not. In the early 20th century, American Jewish cooks took the concept of kipfel and added cream cheese to the dough, resulting in the delicious rugelach we know and love today.
Rugelach are often served on Jewish holidays like Hanukkah and Shavuot, though of course they can (and should!) be made throughout the year. Our family typically serves them during Rosh Hashanah, when sweet foods are made to signify a sweet new year. The rolled shape is similar to the spiral challah served at Rosh Hashanah, which symbolizes the cyclical nature of a year. Some people roll rugelach into a strudel-like form, then slice it to make spiral-shaped cookies. In today’s blog, I’m going to share the method for creating the more popular crescent-shaped cookies.
While rugelach filling recipes vary greatly, the dough most American bakers use for rugelach is pretty standard, comprised of equal amounts of flour, cream cheese, and butter. I add a bit of sour cream, sugar, and salt to mine because I like to shake things up. I’m a rugelach rebel! Actually, many people use sour cream in their dough instead of cream cheese, which is more similar to the way kipfel are made. I like to add both because I love the way the dough bakes up– crispy on the outside, soft and flaky and scrumptious on the inside. You’ll love it too. Promise.
I wish I could say that this recipe is healthy, but alas, it is just the opposite. That is, unless you consider fat, sugar, and starch to be healthy– and they might be, depending on how you look at it. After all, tasty treats in moderation are certainly good for the soul. I don’t recommend futzing with the recipe too much by substituting lowfat ingredients, since it’s the fat in the dairy products that ultimately makes these cookies so flaky and delicious. If you do try modifying the recipe for health reasons, let me know how it turns out for you– I’d love to hear! For the rest of us making full-fat rugelach, don’t worry about it too much. These cookies bake up fairly small, so you can treat yourself to a couple and not feel too terribly guilty. Life is there to be lived, am I right??
Recommended Products
DOUGH INGREDIENTS
- 2 sticks (1 cup) unsalted butter
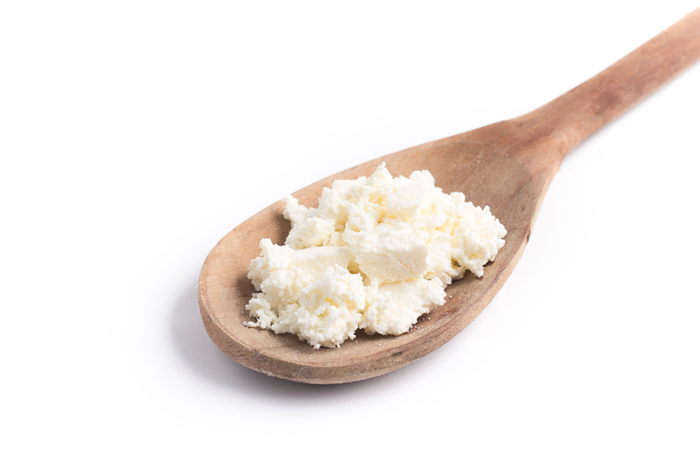
- 8 oz. cream cheese
- 1/4 cup sour cream
- 2 cups all purpose flour
- 1/4 tsp salt
- 2 tbsp granulated sugar
FILLING INGREDIENTS
- 1 1/2 cups chopped walnuts or pecans
- 1 1/4 cups semi-sweet chocolate chips
- 1/2 cup berry preserves (raspberry, strawberry, or blackberry)
- 1/4 cup brown sugar
EGG WASH INGREDIENTS
- 1 egg
- 1 tsp water
- 1/4 cup granulated sugar
- 1 1/2 tsp cinnamon
YOU WILL ALSO NEED
Food processor or electric mixer, plastic wrap, parchment paper, cookie sheets, rolling pin and surface, skillet, 9 inch cake pan (optional)
Servings: 40 large rugelach or 60 small rugelach
Kosher Key: Dairy
Chop cold butter and cream cheese into smaller pieces. Put pieces into your food processor along with sour cream, flour, salt, and sugar. Pulse together ingredients until a crumbly dough forms and begins to fall away from the sides of the processor. Don’t overprocess; the dough should look crumbly, like cottage cheese.
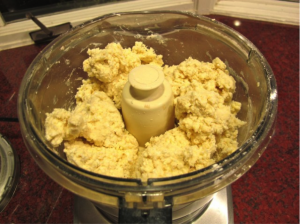
If you don’t have a food processor: let the butter and cream cheese come to room temperature. Using a stand mixer or hand mixer, cream the butter and cream cheese together with the sour cream. In a separate bowl, sift together the flour, salt, and sugar. Slowly add the dry mixture to the wet mixture, mixing constantly, until dough holds together and begins to pull away from the sides of the bowl. Don’t overmix. Pour dough onto a lightly floured rolling surface…

and form into a rough ball shape.

Divide the ball into four equal pieces and form those pieces into rough balls.
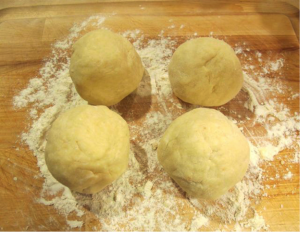
Cover each ball with plastic and place in the refrigerator. Refrigerate dough balls for at least 1 1/2 hours, for up to 48 hours.
In a skillet, toast the chopped nuts over medium heat until fragrant.
 g
g
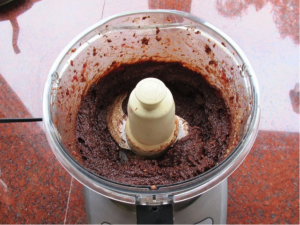
Pour the toasted nuts into a food processor along with the chocolate chips, berry preserves, and brown sugar. Pulse together until a thick, coarse paste forms. Reserve.
Combine the cinnamon and sugar in a small bowl; reserve. Beat your egg wash with water; reserve.
Preheat oven to 375 degrees F. Lightly flour your rolling surface and rolling pin. Take one portion of the dough out the refrigerator (keep the rest of the dough cold until ready to use). Roll out the dough to about 1/8 inch thickness. You may need to use the rolling pin to pound out the dough a bit at the beginning; the dough will be very firm and cold, but will become more pliable as it starts to warm. Just keep rolling with firm, even pressure, and eventually it will look like this:

Lift the dough gently from the rolling surface (it may stick a bit) and re-flour your surface beneath the dough.

Replace the dough onto the newly refloured surface. Use a round 9″ cake pan as a guide to make a nice, smooth imprint of a circle in the dough.
Cut the dough into a large circle, following the shape of the cake pan. If you don’t have a cake pan, just guesstimate the size of the circle and cut it as smoothly as you can.

Form the trimmed excess dough into a small ball. Wrap it in plastic and reserve in the refrigerator, adding to the ball with each batch that is made.
Take 1/4 of the filling (about 4 tbsp) and place it in the center of the circle. Spread it very thin across the surface of the dough; a thick layer of filling will make your cookies expand and burst. You can use your fingers to make the spreading easier; I like to use my palm to flatten and even out the filling. Leave about an inch around the edges of the circle.
Cut the circle into 8 equal triangles by first cutting the circle in half…then quarters…then halve the quarters to make eighths.
If you prefer to make smaller bite-sized cookies, divide each quarter into three to make 12 equal triangles.


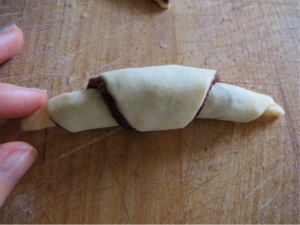
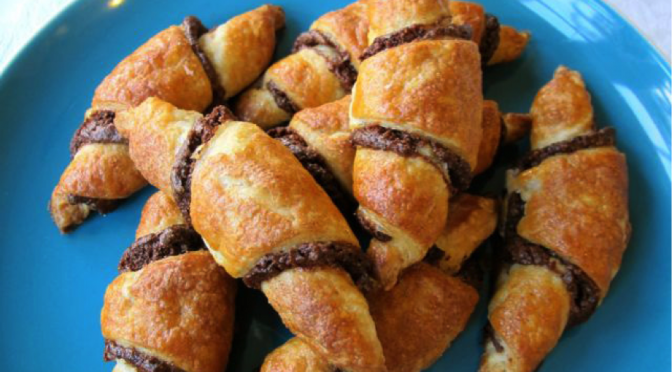
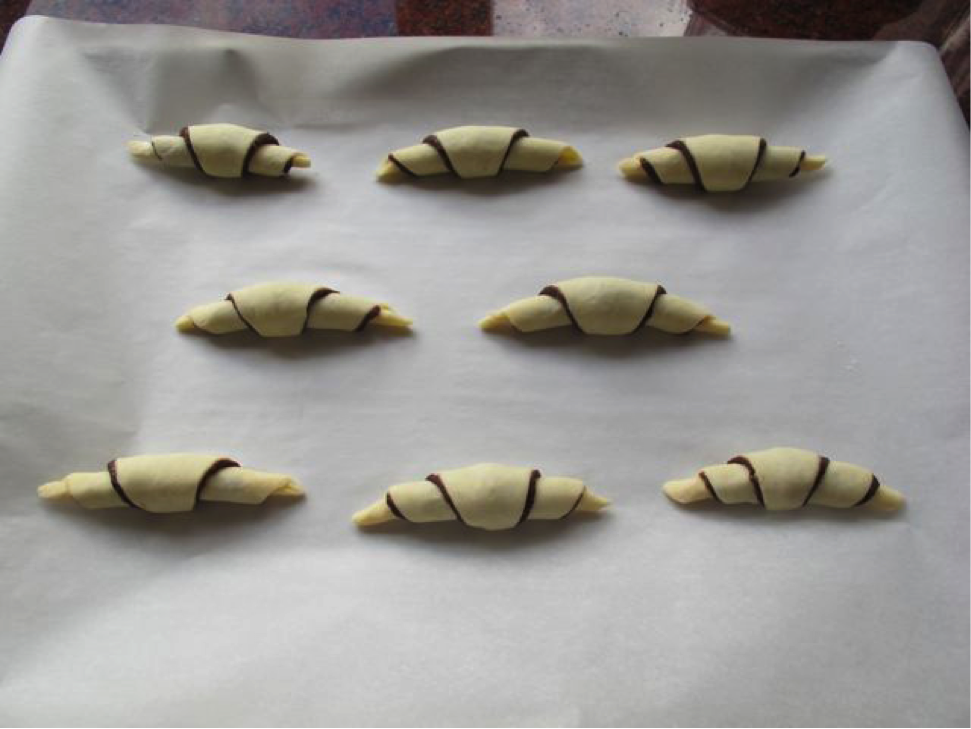
Roll each triangle, starting from the wide flat end and rolling towards the narrow point.
Press the end point into the cookie to secure it. Place the rolled cookies onto a parchment lined cookie sheet, end point down. Leave an inch between the cookies, as they will expand slightly during baking.

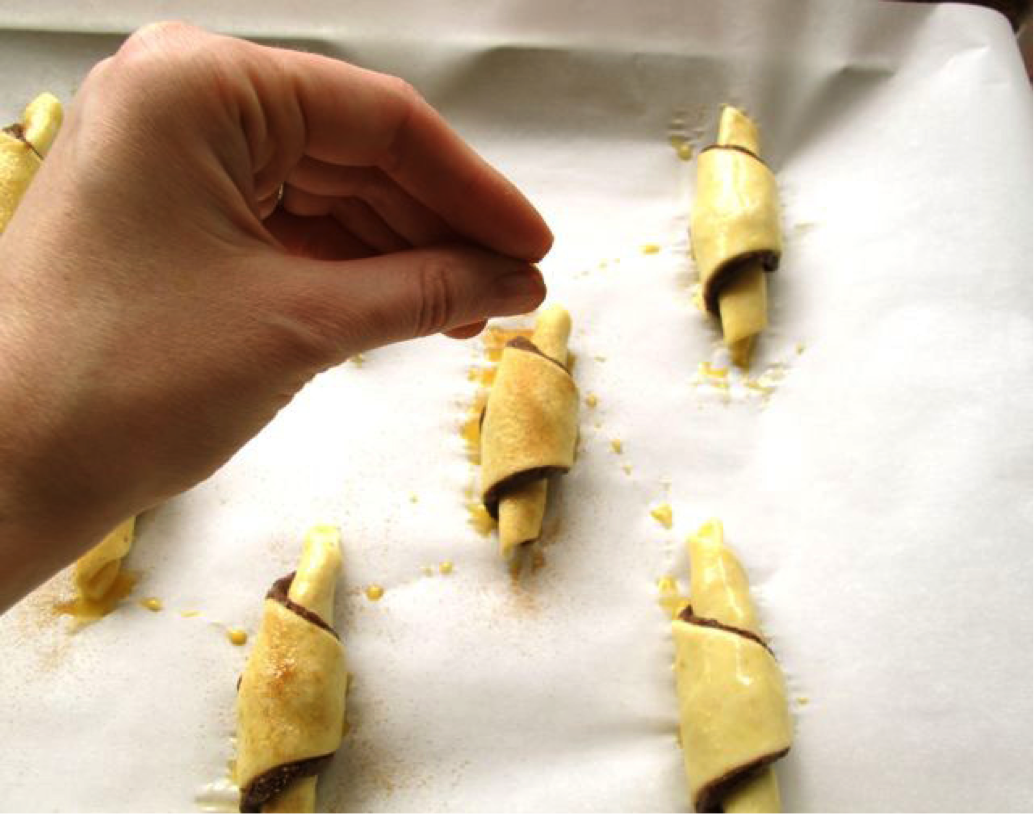
When you are ready to bake, brush the top of each cookie with egg wash…
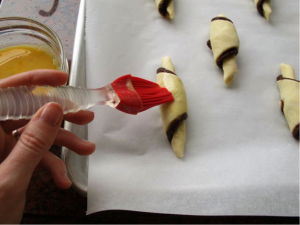
then sprinkle lightly with cinnamon sugar.

Place cookies in the oven and let them back for about 25 minutes, or until golden brown.
Roll out your next batch of cookies while this batch is baking. When the cookies are golden brown, remove from the oven and let them cool on a wire rack.
If you’d prefer to bake more than one batch of cookies at a time, you can store batches of rolled unbaked cookies (without egg wash) on a cookie sheet in the refrigerator. Egg wash and dust them with sugar just prior to placing them in the oven.
When you’re finished making cookies from the four dough balls, make a smooth ball from the leftover dough trimmings you’ve reserved and roll it out to make your fifth batch.
These cookies taste amazing served warm and fresh from the oven. They’ll keep for a few days in a tightly sealed container. You can rewarm them in the microwave if you want to. Also, feel free to use this dough recipe with other rugelach fillings. If you’re using a fruit-only filling, make sure it’s an oven safe variety for pastry baking. Using simple jam or preserves alone (without firming them up with other ingredients) tends to make a runny filling that flows out of the cookies, which makes for a goopy mess. If you’ve never made these cookies before, start with my filling– it’s really yummy, promise!
Happy Holidays!
Visit us at: www.Etsy.com